The Idaho RV Owners’ Maintenance Checklist: Winter’s creeping in, and if you’re an RV owner in Idaho, it’s time to get your rig ready to face the cold. Winterizing your RV isn’t just about slapping on a cover and calling it a day. It’s a critical process that protects your home-on-wheels from freezing damage, costly repairs, and ensures it’s ready for your next adventure when spring rolls around. Whether you’re a seasoned RVer or a first-timer, this detailed guide will walk you through everything you need to know to winterize your RV like a pro. Idaho’s winter can be downright brutal with temperatures often plunging well below freezing. This means your RV’s plumbing, engine, and interior need solid preparation to beat the chill and stay in tip-top shape. From draining tanks and adding antifreeze to checking tires and sealing windows, breaking down these steps can save you heaps of trouble and cash down the road.
The Idaho RV Owners’ Maintenance Checklist
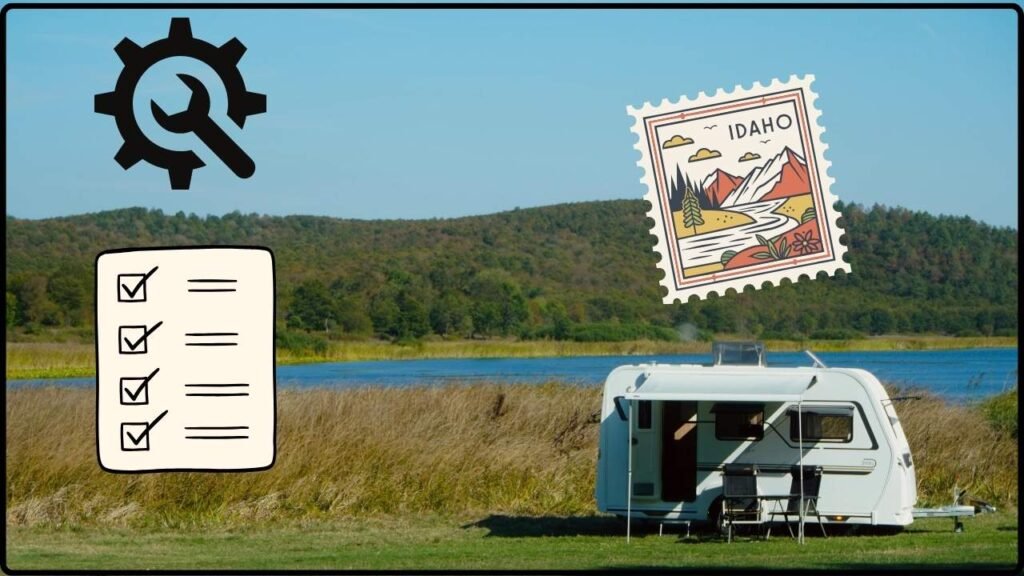
Winterizing your RV in Idaho isn’t just a seasonal chore—it’s the smart way to protect your investment from harsh weather effects and costly repairs. From draining tanks to adding antifreeze and safeguarding your engine, following this maintenance checklist will provide peace of mind through the cold months and get your rig ready for those spring road trips. Being proactive today means a smoother, worry-free adventure tomorrow.
| Topic | Details |
|---|---|
| Purpose | Protect your RV from freezing damage and prepare for winter storage |
| Key Location | Idaho (notable cold winters requiring thorough winterizing) |
| Primary Steps | Drain tanks, add antifreeze, check engine fluids, protect tires, clean and seal interiors |
| Tools & Materials Needed | RV antifreeze, water heater bypass kit, fuel stabilizer, engine block heater, cleaning supplies |
| Savings Potential | Prevents costly damage estimated at hundreds to thousands of dollars in repairs |
| Official Resources | RVDA.org Winterization Tips |
| Expert Tip | Schedule professional winterization if unsure, especially in cold climates |
Why Winterize Your RV in Idaho?
Idaho winters are no joke. The state’s fluctuating temperatures often drop below 20°F (-6°C), and in mountain regions, they can plunge even further. These freezing temperatures put your RV’s plumbing system at huge risk. Water left inside pipes and tanks can freeze, expand, and cause severe damage like cracked pipes and burst tanks — leading to expensive repairs, downtime, and frustration.
This freeze danger isn’t just about the plumbing. Mold and mildew can grow in lingering moisture, corrosion can degrade metal components, and rodents often seek shelter in unprotected interiors during cold months. Winterizing your RV preserves these critical systems and protects your investment.
Financially, the savings are real. Comprehensive winterization can prevent costly damages which often run from several hundred to a few thousand dollars. Doing the right prep now means you won’t spend spring in repair shops.
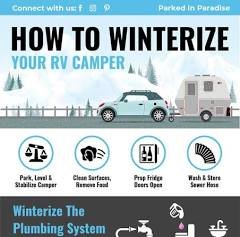
The Idaho RV Owners’ Maintenance Checklist: An Easy, Step-By-Step Guide
Step 1: Drain All Water Systems Thoroughly
Draining is the first and most crucial step. Any water left behind risks freezing and damaging your system.
- Fresh Water Tank: Open the drain valve fully; ensure all water is released.
- Gray and Black Tanks: Drain completely, then flush with a cleaning system to clear residual waste and odors. Flush black tanks several times if needed.
- Water Heater: Turn off power and let it cool completely. Open the pressure relief valve and drain plug to empty fully. Important: Use a water heater bypass valve to prevent antifreeze from entering the heater, saving costs.
- Water Lines: Open all hot and cold faucets inside and outside the rig and run the water pump until no more water flows. Don’t forget the outdoor shower and toilet drains.
Air pockets trapped in lines can freeze and cause damage, so releasing pressure and air is essential. Removing any inline water filters before adding antifreeze is important as antifreeze can clog or ruin these filters.
Step 2: Add RV-Safe Antifreeze Correctly
With all water drained, it’s time to protect your plumbing with non-toxic RV antifreeze labeled safe for potable water systems. Automotive antifreeze is toxic and unsuitable.
- Attach a hose to the water pump inlet and submerge it into the antifreeze container.
- Starting with the faucet closest to the pump, open hot and cold valves until you see pink antifreeze flowing out; then close that faucet and move on sequentially to all faucets, including showerheads and outdoor taps.
- Pour at least one cup of antifreeze into each drain and the toilet bowl, flushing the toilet to protect black tank seals.
- Close all faucets and restore valve positions, securing all drains after antifreeze is pumped through.
This ensures all pipes, traps, and holding tanks are protected against freezing, which is indispensable in Idaho’s winter.
Step 3: Prepare Engine and Mechanical Systems for Cold
Proper engine care extends beyond fluids — it’s about cold-weather readiness.
- Oil Change: Old oil thickens in cold temperatures, reducing engine protection. Fresh oil and a new filter help your engine run smoothly.
- Coolant Check: Ensure your radiator has an antifreeze coolant mix suitable for below-zero Idaho temps.
- Belts and Hoses: Cold weather stiffens rubber. Inspect these components and replace any showing signs of cracking or aging.
- Engine Block Heater: Many Idaho RV owners use block heaters plugged in overnight to pre-warm engines, easing cold starts and reducing engine wear.
- Tires: Keep tires inflated to manufacturer specs. Consider switching to winter tires if you plan to drive frequently in snow or icy conditions. Also, use tire covers to block harsh sun and prevent dry rot during storage.
- Battery Care: Cold drains battery power faster. Fully charge batteries, clean terminals, and consider removing batteries for indoor storage or using a trickle charger to maintain charge.
Step 4: Clean and Protect Interior and Exterior Thoroughly
Winter storage invites pests and damage if the rig is neglected.
- Interior Cleaning: Empty, clean, and dry your refrigerator and freezer; leave doors ajar to prevent mold growth. Remove food, trash, and anything that could attract critters.
- Seal Inspection: Scrutinize window, door, roof, and slide-out seals for cracks or gaps. Reseal with RV-friendly caulks to keep moisture and cold air out.
- Appliance Winterizing: Follow manufacturer instructions to winterize ice makers, washers, and dishwashers by draining and disconnecting water lines.
- Exterior Wash & Wax: Clean all dirt, bugs, and grime. A fresh wax layer protects paint from snow, ice, and UV damage.
- Awning Maintenance: Fully extend, clean, and dry awnings before retracting for winter to prevent mildew and fabric damage.
- Cover Your RV: Use a breathable, weather-resistant cover designed for RVs to prevent moisture buildup and UV damage while allowing ventilation.
Step 5: Additional Winter Storage Tips and Precautions
- Fuel Stabilizer: Fill gas tank; add quality fuel stabilizer to keep gasoline fresh and prevent fuel system gum buildup.
- Propane System: Turn off propane tanks and disconnect if possible. Inspect lines and regulators for leaks or cracks.
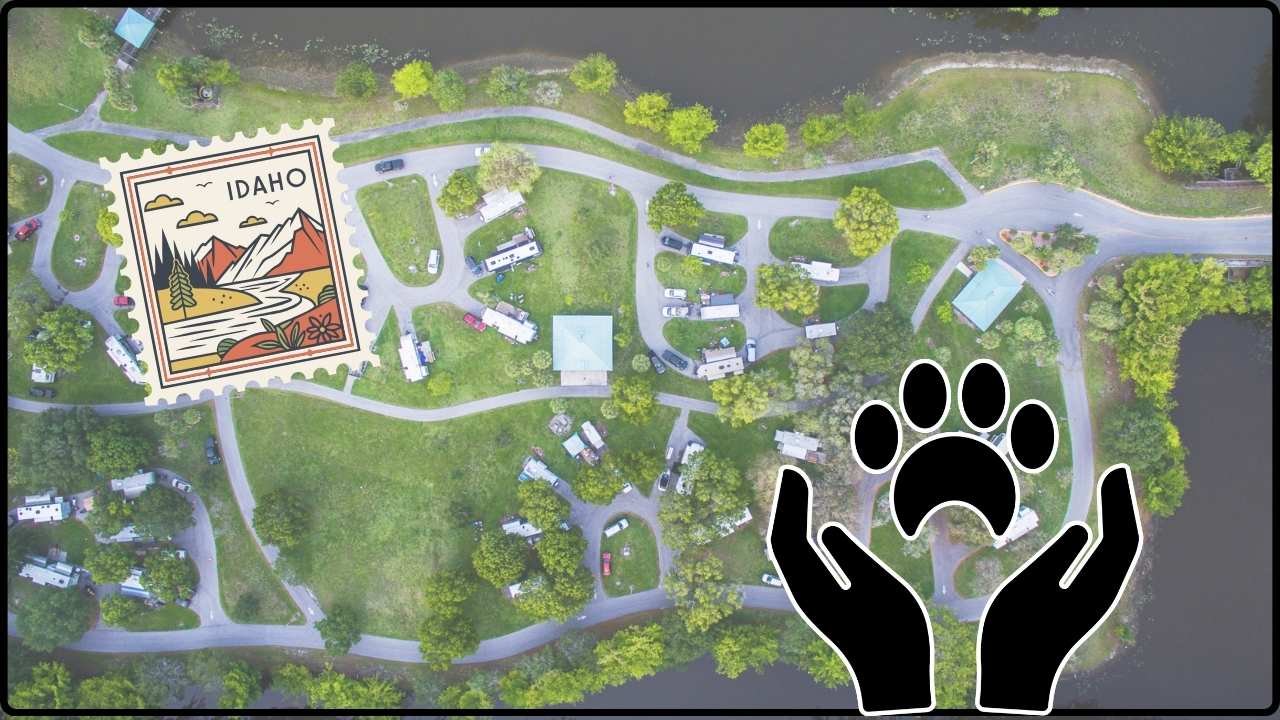
- Rodent Protection: Seal all exterior openings to deter critters seeking winter shelter—pay special attention to vents, undercarriage accesses, and gaps.
- Snow Management: Heavy snow loads can strain your roof. Remove snow regularly with soft tools like roof rakes to protect structural integrity.
- Store Level and Clean: Park on firm, level ground to ensure proper drainage and prevent frame stress or tires sinking during freeze-thaw cycles.
Regularly check your RV during winter storage if accessible to catch any issues early.
How to Find Public RV Dump Stations in Idaho
Finding Free RV Camping Near Boise: Your Top 5 Spots
RV Trip Planner: Exploring Craters of the Moon National Monument